Starbucks cake pops have become a beloved treat for coffee lovers and dessert enthusiasts alike. These little bite-sized confections are the perfect blend of moist cake and sweet frosting, all covered in a colorful candy shell. Whether you’re enjoying one with your morning coffee or serving them at a party, Starbucks cake pops bring joy with every bite. But did you know that you can recreate these delightful treats right at home? In this post, we’ll walk you through the process of making homemade Starbucks cake pops that are perfect for any occasion. From gathering your ingredients to adding the finishing touches, you’ll have everything you need to make your cake pops just as irresistible as the ones from your local Starbucks.
Table of Contents

What Makes Starbucks Cake Pops So Special?
Before we dive into the recipe, let’s first explore what makes Starbucks cake pops such a hit.
The Appeal of Starbucks Cake Pops
One of the reasons Starbucks cake pops are so loved is because they combine the best of both worlds: cake and frosting. Unlike traditional cakes that require slicing, cake pops provide a convenient and fun way to enjoy dessert. The moist, rich cake inside pairs perfectly with a creamy frosting, all wrapped up in a colorful candy coating. Whether you’re grabbing one on the go or enjoying it with a hot beverage, the combination of flavors and textures is hard to resist.
Unique Features
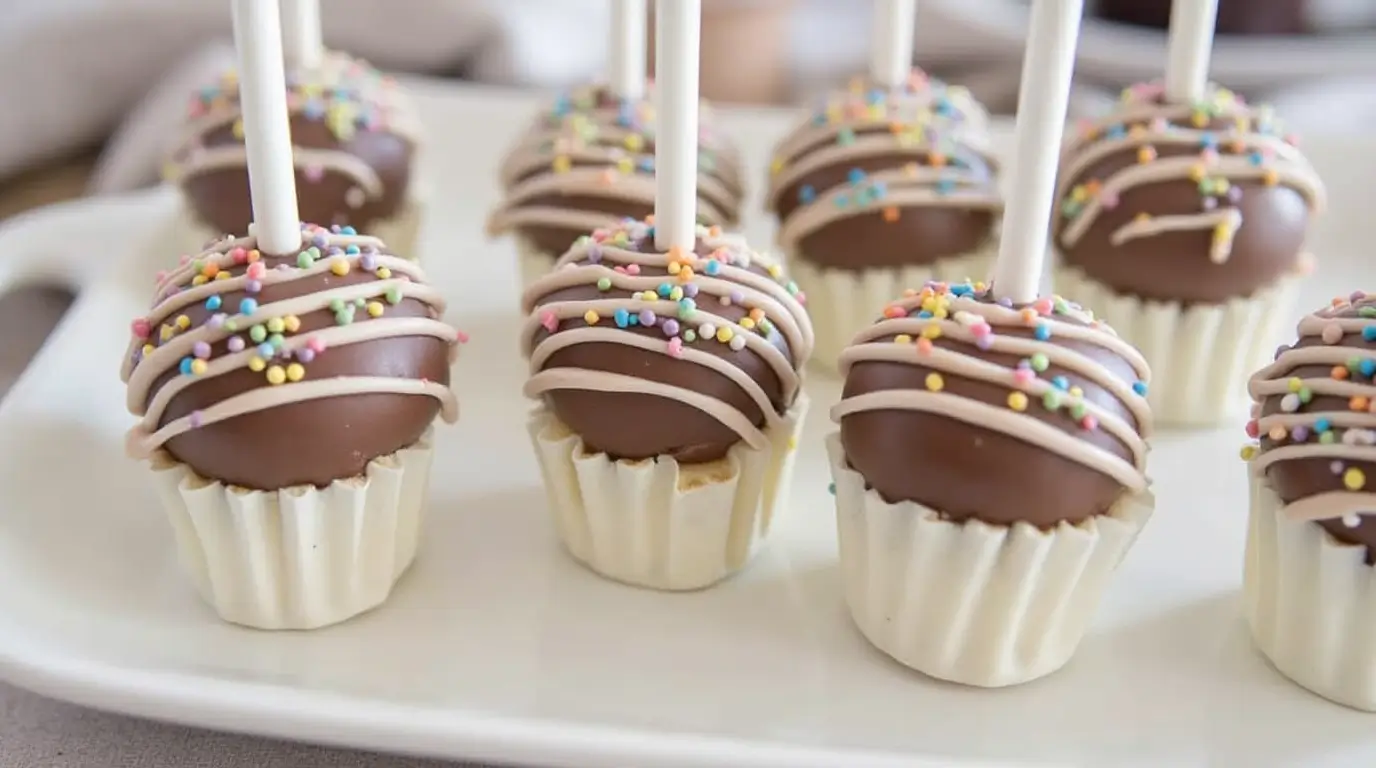
Starbucks cake pops are instantly recognizable thanks to their vibrant candy coating and colorful sprinkles. They’re small enough to be enjoyed as a quick snack but indulgent enough to feel like a treat. Plus, they come in a variety of flavors and decorations, making them perfect for any occasion — from birthday parties to holiday gatherings.

Why Recreate Them at Home?
While Starbucks cake pops are delicious, they can also be pricey if you’re buying them regularly. By making them at home, you not only save money but also gain full control over the flavor and decoration. You can experiment with different cake flavors, frosting types, and even customize them for special occasions. And the best part? You don’t need to be a professional baker to make these cake pops. With a few simple ingredients and the right techniques, you can recreate Starbucks cake pops in your own kitchen.
Essential Ingredients and Tools for Starbucks Cake Pops
To make these homemade Starbucks cake pops, you’ll need a few essential ingredients and tools. Let’s go over everything you’ll need to get started.
Ingredients List
- Cake Crumbs (Base)
The first thing you’ll need is a cake base. You can either bake your own cake or use a store-bought cake mix. Starbucks cake pops are typically made with a moist and soft cake. Popular flavors include vanilla, chocolate, or red velvet, but feel free to get creative and try other flavors such as lemon or strawberry. - Frosting
The frosting acts as the binder that holds the cake crumbs together and adds richness. You can choose between buttercream frosting, cream cheese frosting, or even a simple chocolate ganache. Make sure the frosting is smooth and not too thick, as you need it to mix easily with the cake crumbs. - Candy Melts
For the outer coating of the cake pops, candy melts are the best option. They come in a variety of colors and flavors, so you can choose a shade that fits your theme or flavor. White, pink, and chocolate-colored candy melts are some of the most popular choices for Starbucks-style cake pops. You can find candy melts at most craft stores or online. - Sprinkles or Toppings
To make your cake pops extra fun, you can decorate them with sprinkles, edible glitter, or even chocolate drizzle. This is optional, but it adds a festive touch, especially for holidays or celebrations. - Cake Pop Sticks
Don’t forget to get the sticks! Cake pop sticks or lollipop sticks will hold your cake pops together and allow for easy dipping. If you don’t have cake pop sticks, you can also use wooden skewers cut to the desired length.
Tools You’ll Need
- Food Processor or Mixing Bowl
You’ll need a food processor or a large mixing bowl to crumble your cake. A food processor is the easiest option, but a hand mixer or simply using your hands will work just as well. - Baking Sheets and Parchment Paper
Once your cake pops are shaped, you’ll need a place to let them chill. Line a baking sheet with parchment paper to keep your cake pops from sticking. - Microwave-Safe Bowls
You’ll need microwave-safe bowls for melting your candy melts. These will help you achieve a smooth and even coating for your cake pops.
Now that you’ve got all the ingredients and tools in place, let’s move on to the fun part — making the cake pops!
Step-by-Step Starbucks Cake Pop Recipe
Making cake pops might seem complicated at first, but don’t worry — we’ll guide you through every step. Follow these simple instructions, and you’ll have Starbucks-inspired cake pops in no time.
Step 1: Bake or Prep the Cake Base
The first step is to prepare your cake base. You can either bake your own cake or use a pre-made cake mix. If you’re baking from scratch, any moist cake recipe will do. Vanilla, chocolate, and red velvet are the most common flavors for cake pops, but feel free to experiment!
- Bake the Cake: If you’re baking from scratch, follow your cake recipe instructions, or prepare your cake mix according to the package instructions.
- Cool the Cake: Once your cake is baked, let it cool completely. This is important because hot cake will make your frosting melt, making it harder to mix.
- Crumble the Cake: Once the cake has cooled, break it into small crumbs using your hands or a food processor. You should end up with about 3-4 cups of cake crumbs, depending on the size of your cake.
Step 2: Mix with Frosting
Next, you’ll combine the cake crumbs with frosting. This step is essential for binding the cake crumbs together.
- Add Frosting: Begin by adding about 1/2 cup of frosting to your crumbled cake. You can always add more if needed, but start with less to avoid making the mixture too wet.
- Mix the Cake and Frosting: Use your hands or a spoon to mix the cake crumbs and frosting together. The goal is to get a dough-like consistency that holds together when pressed into a ball.
Step 3: Shape and Chill
Now that your cake and frosting are mixed, it’s time to shape your cake pops.
- Form the Cake Balls: Roll the cake mixture into small balls, about 1 inch in diameter. If you prefer larger cake pops, you can make them bigger, but keep in mind that larger pops may take longer to set and could be harder to handle.
- Insert the Cake Pop Stick: Melt a small amount of candy melts and dip the end of each cake pop stick into the candy before inserting it into the center of each cake ball. This helps the stick stay in place.
- Chill: Place the cake pops on a baking sheet lined with parchment paper and refrigerate them for at least 30 minutes, or until firm. This will make the next steps easier and prevent the cake pops from falling apart.
Step 4: Dip and Decorate
The final step is the fun part — dipping your cake pops in candy melts and decorating them.
- Melt the Candy: Follow the instructions on the candy melt package to melt the candy. You can melt it in the microwave in 20-second intervals, stirring in between, until smooth.
- Dip the Cake Pops: Once the candy melts are smooth and free of lumps, dip each cake pop into the melted candy. Twirl the stick gently to ensure the cake pop is fully coated.
- Decorate: While the candy coating is still wet, add sprinkles, edible glitter, or any other decorations of your choice. Let the candy coating harden for about 15-20 minutes before handling.
Tips and Tricks for Perfect Cake Pops
Making cake pops can be a little tricky at first, but these tips will help you perfect your technique.
1. How to Prevent Cake Pops from Cracking or Falling Off Sticks
If your cake pops are cracking or the sticks are falling out, it’s likely due to the texture of the cake or the candy coating. Here are some tips:
- Make sure your cake crumbs are finely crumbled to avoid any large chunks that can affect the texture.
- If the candy coating is too thick, add a small amount of vegetable oil to thin it out for easier dipping.
2. Achieving a Smooth Candy Melt Coating
For a smooth, even coating, make sure your candy melts are melted properly. If the coating looks too thick, add a small amount of vegetable oil or shortening to smooth it out. This will help the coating glide on easily without any lumps.
3. Flavor and Decoration Ideas for Different Occasions
You can easily customize your cake pops to fit any occasion:
- For Holidays: Use red and green candy melts for Christmas, or pastel colors for Easter.
- For Birthdays: Decorate with rainbow sprinkles or your favorite party-themed designs.
- For a Fun Twist: Experiment with flavor combinations like lemon cake with raspberry frosting or chocolate cake with peanut butter frosting.
4. Storage Tips: How to Keep Cake Pops Fresh
Once your cake pops are decorated and set, you’ll want to store them properly:
- Keep them in an airtight container at room temperature for up to a week.
- For longer storage, refrigerate them for up to two weeks, but keep in mind that the candy coating may soften in the fridge.
Why These Homemade Cake Pops Are Perfect for Any Occasion
Homemade Starbucks cake pops aren’t just for coffee lovers. They’re perfect for birthdays, holidays, parties, or even as a thoughtful homemade gift.
Customization Options
The beauty of making your own cake pops is the ability to customize them. You can choose the cake flavor, frosting, candy coating, and decorations to match any theme or occasion. Whether it’s a birthday party, a baby shower, or a simple treat to enjoy with friends, these cake pops can be tailored to suit your needs.
Great for Parties and Gifts
Cake pops are a hit at any celebration. They’re easy to serve, fun to eat, and make a delightful addition to dessert tables. They also make wonderful homemade gifts, wrapped in cellophane or presented in a decorative box.
Budget-Friendly
Buying Starbucks cake pops can add up quickly, especially if you’re serving a large group. Making them at home is a more affordable option and allows you to create a larger batch for a fraction of the cost.
Fun for Families and Kids
Making cake pops is a fun activity for kids. They’ll love rolling the cake balls, dipping them in candy melts, and decorating their own pops. It’s a great way to get everyone involved in the kitchen, and the best part is that everyone gets to enjoy the results!
Conclusion
There you have it — your complete guide to making homemade Starbucks cake pops that are perfect for any occasion. With just a few simple ingredients and a bit of creativity, you can enjoy these delicious treats in the comfort of your own home. Whether you’re making them for a party, a special occasion, or just because, these cake pops will surely be a hit with friends and family. So, gather your ingredients, roll up your sleeves, and get ready to create some irresistible homemade cake pops that rival Starbucks’ famous treats.